项目地址: https://github.com/caixy-plus/brain-think
app_plat OAuth + 脑池 AI API 的端到端验证应用。
| 子项目 | 说明 |
|---|---|
server/ | Spring Boot 3.2 + Java 21 服务端(OAuth 回调编排、脑池转发、会话/对话存储) |
client/ | Flutter 跨平台客户端(macOS / Windows / Android / iOS) |
整体流程
Flutter         brain-think server (:9080)        app_plat backend (:8080)        app_plat frontend (:3000)
  │                                                                                        │
  │ 1) 打开 InAppWebView,加载 /oauth/authorize?client_id=…&redirect_uri=brainthink://callback
  │                                                                                        │
  │ 2) 用户在 WebView 中:登录 ⇄ 同意授权                                                  │
  │ 3) 同意页 GET /v1/oauth/authorize  → {code}                                           │
  │ 4) window.location = brainthink://callback?code=xxx                                    │
  │                                                                                        │
  │ 5) WebView 拦截 brainthink:// → 提取 code                                             │
  │ 6) POST /api/auth/exchange  {code}                                                     │
  │                  │                                                                     │
  │                  │ 7) POST /v1/oauth/token  {clientId, clientSecret, code, …}          │
  │                  │ ← {accessToken, refreshToken}                                       │
  │                  │ 落库 user_session、签 brain-think 自家 JWT 返回                     │
  │ ← {sessionToken} │                                                                     │
  │                                                                                        │
  │ 8) POST /api/chat/send  Bearer btJwt  {message}                                        │
  │                  │ 9) POST /v1/brain/chat/completions  X-API-Key: dev-key-2024        │
  │                  │ ← {choices:[{message:{content}}]}                                   │
  │ ← {reply}        │                                                                     │
前置准备
1. 启动 app_plat(端口冲突自查)
cd /Users/caixinyun/Workspace/app_plat
docker compose up -d                       # PG :5433、Redis :6380
cd backend && ./mvnw spring-boot:run &     # :8080
cd ../frontend && npm run dev &            # :3000
brain-think 需要 frontend 跑起来——它承载补齐的
/auth/login和/oauth/authorize同意页(已在 app_plat 中创建)。
2. 控制台注册 OAuth 应用
浏览器打开 http://localhost:3000/console/applications:
- 应用名:
brain-think - redirect_uris:必须包含
brainthink://callback - 创建后记下
clientId/clientSecret
3. 脑池 API Key
脑池目前仅校验 naochi.api-keys 配置(默认包含 dev-key-2024),开发期可直接用默认值;生产可通过控制台 /console/api-keys 创建后再把它加到 app_plat 的 application.yml 里。
跑 brain-think
服务端
cd server
export PLATFORM_CLIENT_ID=<填上>
export PLATFORM_CLIENT_SECRET=<填上>
export PLATFORM_BRAIN_API_KEY=dev-key-2024
export BT_JWT_SECRET=$(openssl rand -hex 32)
export JAVA_HOME=$(/usr/libexec/java_home -v 21)
mvn spring-boot:run
健康检查:curl http://localhost:9080/api/health → {"code":0,"data":{"status":"UP"}}
客户端
编辑 client/lib/config.dart,把 kOAuthClientId 改为上一步注册得到的 clientId。
cd client
flutter pub get
flutter run -d macos        # 或 windows / iOS / Android
Android 模拟器:把
kBrainThinkBaseUrl与kPlatformWebBase中的localhost换成10.0.2.2。
端到端验证
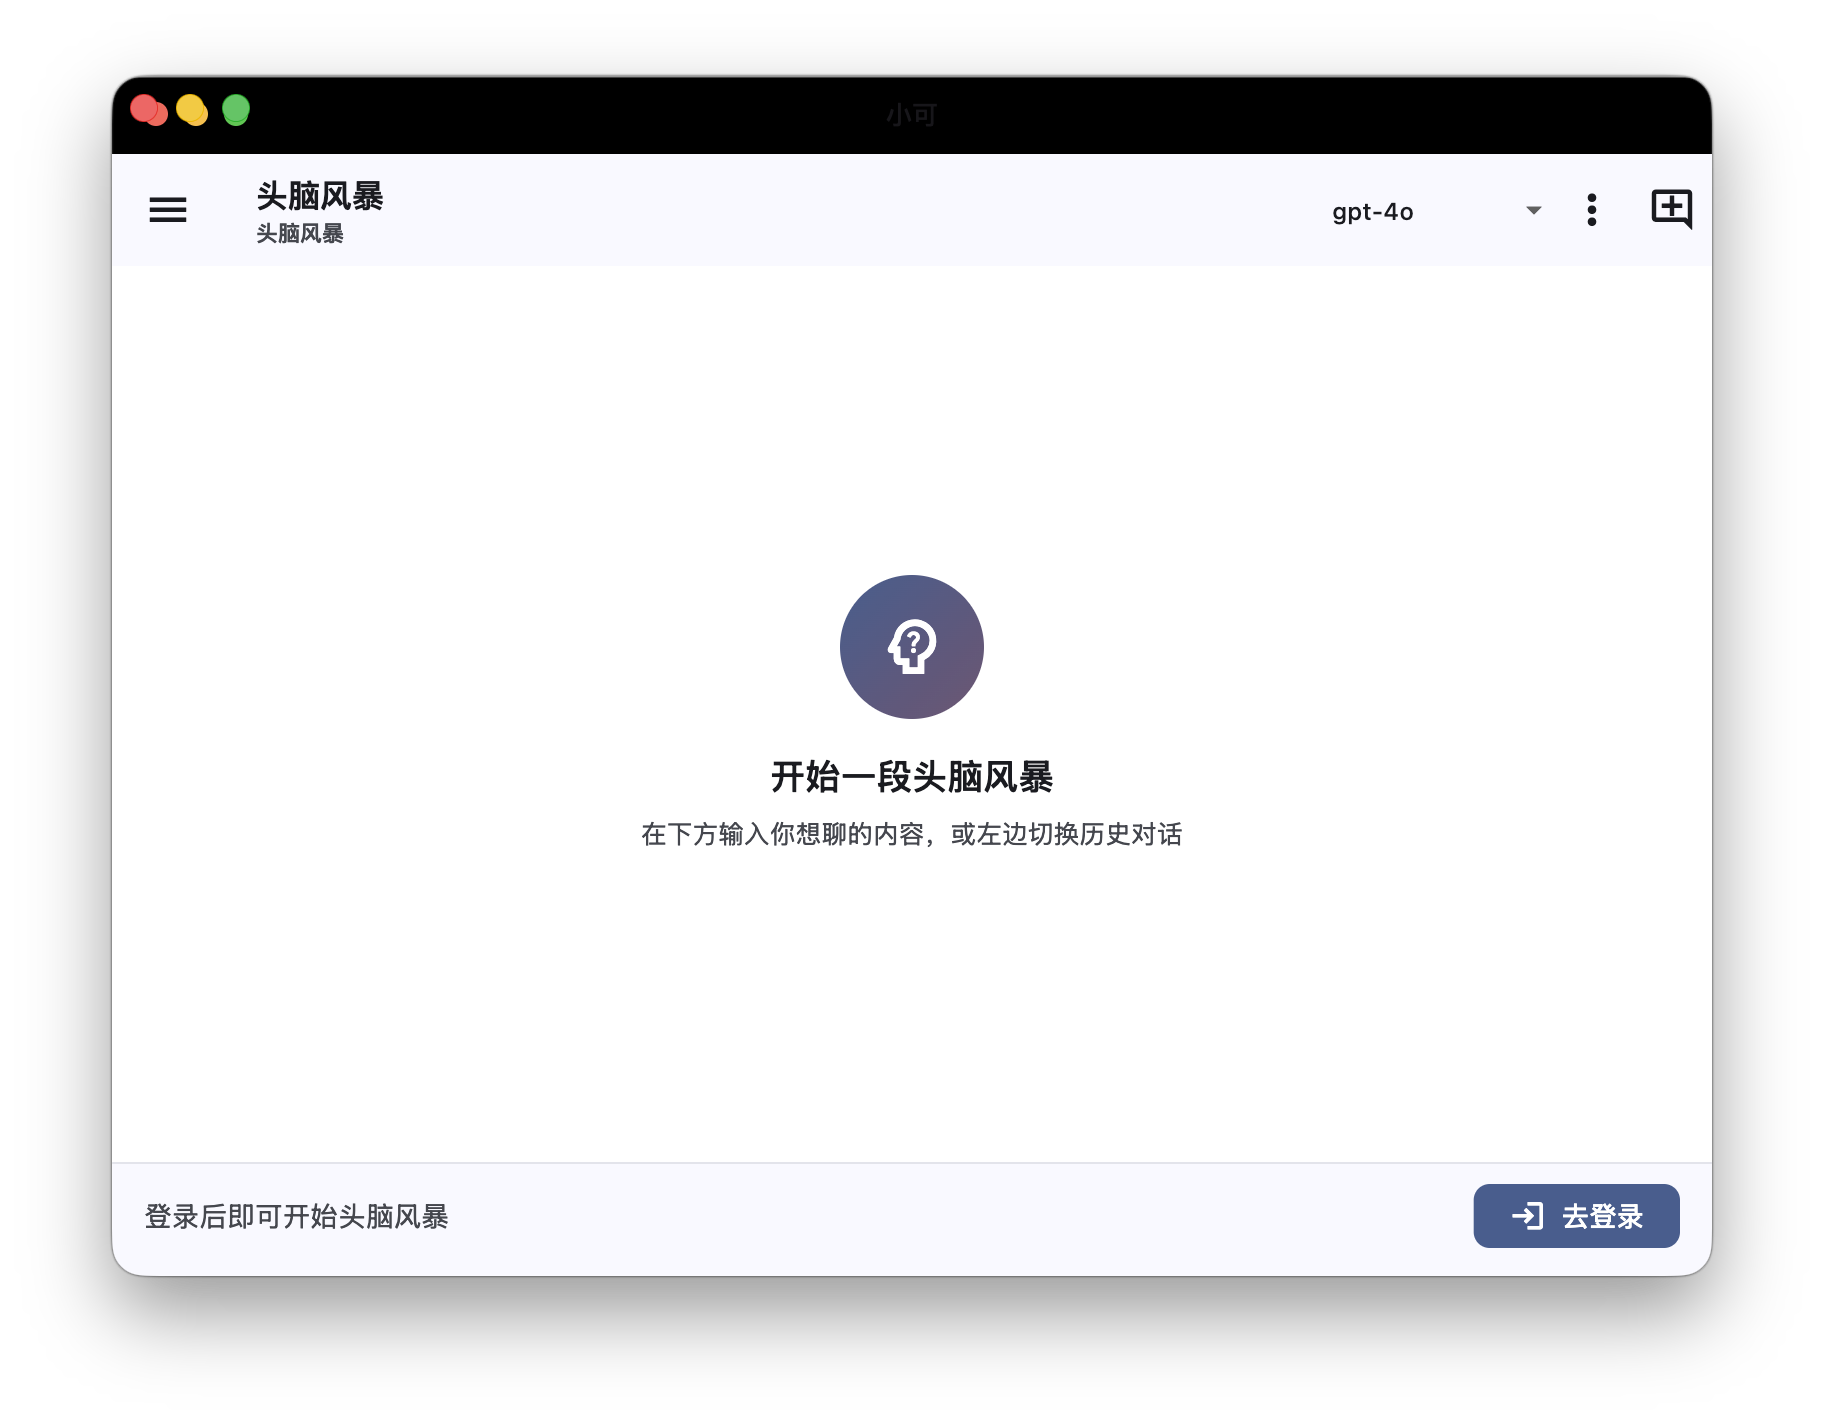
- brain-think 启动 → SplashPage → LoginPage(嵌入 WebView 加载
/oauth/authorize) - WebView 跳到
app_plat登录页,输入账号密码 - 回到同意页,点"同意授权"
- WebView URL 变成
brainthink://callback?code=…,被拦截 - 自动跳到 ChatPage
- 输入"你好",2~5 秒收到 AI 回复
单点验证(cURL)
server/README.md 的"故障排查"可对照排错。最小手动 cURL 链:
# A) 登录拿 user JWT(app_plat)
USER_TOKEN=$(curl -s -X POST http://localhost:8080/api/v1/user/auth/login \
  -H 'Content-Type: application/json' \
  -d '{"email":"alice@example.com","password":"yourpass"}' | jq -r '.data.accessToken')

# B) 拿 code
CODE=$(curl -s "http://localhost:8080/api/v1/oauth/authorize?client_id=$CID&redirect_uri=brainthink://callback&scope=read&state=test" \
  -H "Authorization: Bearer $USER_TOKEN" | jq -r '.data.code')

# C) 换 token
curl -X POST http://localhost:8080/api/v1/oauth/token \
  -H 'Content-Type: application/json' \
  -d "{\"clientId\":\"$CID\",\"clientSecret\":\"$CSE\",\"code\":\"$CODE\",\"grantType\":\"authorization_code\"}"

# D) 脑池
curl -X POST http://localhost:8080/api/v1/brain/chat/completions \
  -H 'X-API-Key: dev-key-2024' -H 'Content-Type: application/json' \
  -d '{"model":"mimo-v2-pro","messages":[{"role":"user","content":"hi"}]}'
app_plat 这次顺手补齐
| 文件 | 内容 |
|---|---|
frontend/src/app/auth/login/page.tsx | 用户登录页(OAuth 同意页未登录时跳转过来) |
frontend/src/app/oauth/authorize/page.tsx | OAuth 同意页(替后端做 302 跳到 redirect_uri) |